Creating Your First API
Learn how to build a production-ready API from design to deployment with a real-world AI Prompt Enhancer example. This comprehensive guide covers the complete API development lifecycle with practical code examples, best practices, and architectural decisions.
You've learned about APIs, their types, and common terminology.
But knowing what an API is and building one?
Those are two very different challenges. Let's bridge that gap by building something practical.
The AI Prompt Enhancer API Example
We'll build an API that transforms basic prompts for AI models like ChatGPT, Claude, or Gemini by adding structure and detail.
Consider it a prompt optimization tool that helps users get better responses from AI systems.
Input Example:
"Tell me about space exploration"
Enhanced Output:
# Expert Role Assignment
You are a space exploration historian with expertise in the advancements and achievements of space exploration.

# Task & Purpose
Create an informative guide detailing the history, key milestones, technological advancements, and future prospects of space exploration to provide a comprehensive overview of this field.

# Content Structure
Organize this as a chronological narrative with distinct sections for different eras of space exploration, including early missions, the space race, modern developments, and future endeavors.

# Required Elements
- Overview of early space exploration efforts like the Apollo missions and the launch of Sputnik.
- Discussion on the space race between the USA and the USSR and its impact on space exploration.
- Explanation of key technological advancements such as the International Space Station and Mars rovers.
- Insights into current space exploration initiatives like SpaceX's reusable rockets and missions to Mars.
- Exploration of future prospects including space tourism, colonization plans, and advancements in space exploration technology.

# Style & Approach
Utilize a professional tone with a balanced mix of technical details and engaging storytelling to make the content accessible to a broad audience interested in space exploration.

# Quality Standards
Ensure accuracy, depth, and coherence in presenting the information, maintaining a balance between technical details and layman-friendly explanations to cater to a diverse readership.

# Output Format
Present the information in a well-structured essay format, with clear headings for each section and smooth transitions between different eras and topics in space exploration.
This transformation shows how proper API design can add value through intelligent processing.
Why Design Before Coding?
Many developers jump into coding without planning, often leading to APIs that are difficult to maintain and require future rewrites. This approach especially hurts APIs because they function as contracts between systems; changes can break client applications once published.
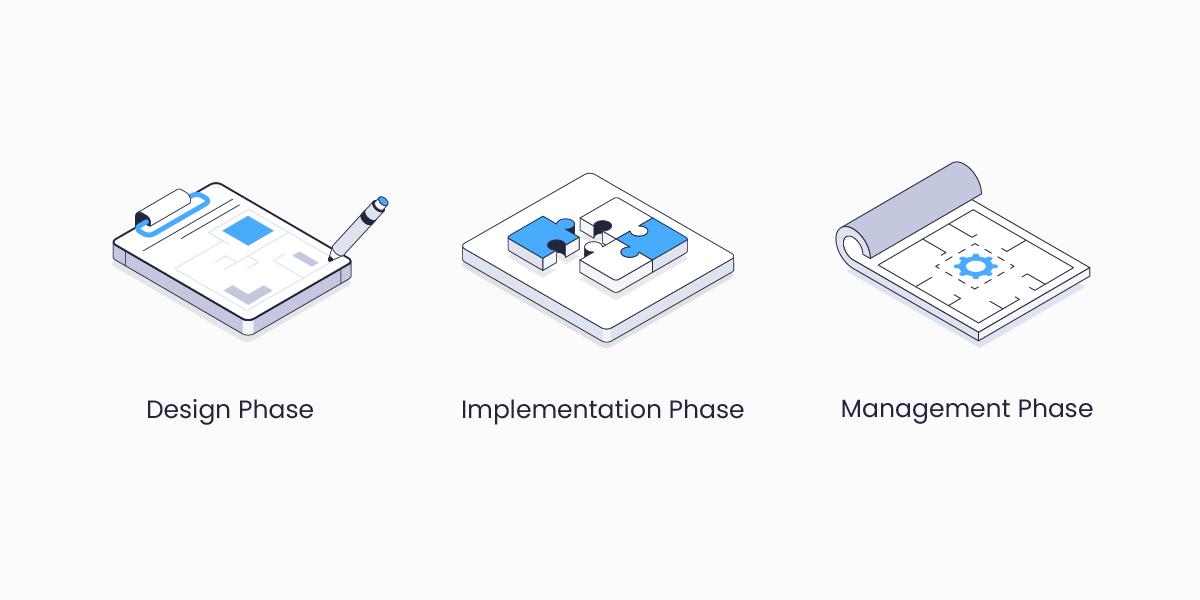
Successful API development follows three distinct phases:
- Design Phase: Plan your API's structure and behavior
- Implementation Phase: Build what you designed
- Management Phase: Maintain, monitor, and evolve your API
This approach resembles creating architectural plans before building a house. You wouldn't start construction without a blueprint, and you shouldn't code without a solid API design.
The Design Phase
The Design Phase creates your API's blueprint before writing any code. During this phase, you:
Define Requirements
Identify the problem your API solves, target users, and data requirements. For our Prompt Enhancer API:
- Problem: Users struggle to write effective prompts for AI models
- Target Users: Content creators, developers, marketers using AI tools
- Data Requirements: Original prompt text, enhancement preferences, user authentication
Plan Resources and Endpoints
Determine key resources (like "prompts" in our example) and corresponding endpoints. Each endpoint should represent a clear business capability.
Authentication Endpoints:
POST /v1/auth/token     // Generate JWT tokens for secure authentication
POST /v1/auth/validate  // Verify token validity and expiration
Prompt Endpoints:
POST /v1/prompts        // Create and enhance a new prompt
GET /v1/prompts         // List previously enhanced prompts with pagination
GET /v1/prompts/:id     // Retrieve a specific enhanced prompt
PUT /v1/prompts/:id     // Update and re-enhance an existing prompt
DELETE /v1/prompts/:id  // Remove a prompt from history
System Endpoints:
GET /health // Simple availability check for monitoring systems
Choose HTTP Methods
Select which methods (GET, POST, PUT, DELETE) each endpoint needs based on the operation:
- GET for retrieving data without side effects
- POST for creating new resources or complex operations
- PUT for updating the entire resources
- DELETE for removing resources
Creating an API Contract
Document your API using the OpenAPI Specification.
This creates a formal contract that both frontend and backend teams can work from:
paths:
  /v1/prompts:
    post:
      summary: Create an enhanced prompt
      requestBody:
        required: true
        content:
          application/json:
            schema:
              type: object
              required:
                - text
              properties:
                text:
                  type: string
                  maxLength: 5000
                format:
                  type: string
                  enum: [structured, creative, technical]
      responses:
        '200':
          description: Successfully enhanced prompt
          content:
            application/json:
              schema:
                type: object
                properties:
                  id:
                    type: string
                  originalText:
                    type: string
                  enhancedText:
                    type: string
The Implementation Phase
During the Implementation Phase, we will transform our design into working code by developing server-side logic, writing comprehensive tests, implementing security measures, creating consistent error handling, and setting up infrastructure.
Technology Stack Selection
For our Prompt Enhancer API, we chose:
Backend Framework: Node.js with Express.js
- Fast development cycle
- Large ecosystem of middleware
- Excellent for I/O-intensive operations like API requests
API Design: OpenAPI Specification (Swagger)
- Clear documentation generation
- Contract-first development
- Client SDK generation
Authentication: JWT-based with API Key fallback
- Stateless authentication
- Scalable across multiple servers
- Secure token expiration
AI Providers: OpenAI GPT models (primary) and Mistral AI (alternative)
- Multiple provider options for reliability
- Configurable through environment variables
Core Implementation Structure
// Express app setup with security middleware
const express = require('express');
const cors = require('cors');
const helmet = require('helmet');
const treblle = require('@treblle/express');

const app = express();

// Apply security middleware
app.use(helmet({
    contentSecurityPolicy: {
        directives: {
            defaultSrc: ["'self'"],
            scriptSrc: ["'self'", "'unsafe-inline'"],
            styleSrc: ["'self'", "'unsafe-inline'"],
            frameAncestors: ["'none'"]
        }
    }
}));

// CORS configuration for frontend access
app.use(cors({
    origin: process.env.CORS_ALLOWED_ORIGINS?.split(',') || ['http://localhost:3000'],
    methods: ['GET', 'POST', 'PUT', 'DELETE'],
    credentials: true
}));

// Request parsing and rate limiting
app.use(express.json({ limit: '100kb' }));
app.use(rateLimitMiddleware());
Core Prompt Enhancement Logic
// Main prompt enhancement controller
exports.enhancePrompt = async (req, res, next) => {
    try {
        const { text, format = 'structured' } = req.body;

        // Validate input
        if (!text || text.length > 5000) {
            return res.status(400).json({
                error: {
                    code: 'validation_error',
                    message: 'Invalid prompt text'
                }
            });
        }

        // Enhance the prompt using AI service
        const enhancedText = await promptEnhancerService.enhancePrompt({
            originalPrompt: text,
            format
        });

        // Create and store prompt object
        const promptObject = {
            id: `prompt_${generateId()}`,
            originalText: text,
            enhancedText,
            format,
            createdAt: new Date().toISOString()
        };

        res.status(200).json(promptObject);
    } catch (error) {
        next(error);
    }
};
                    message: 'Too many requests'
                }
            });
        }
    };
}
The Management Phase
The Management Phase maintains your API's health after launch. Many APIs fail not from poor initial design but from inadequate post-launch management.
API Monitoring with Treblle
// Comprehensive API monitoring and analytics
if (process.env.NODE_ENV === 'production') {
    app.use(treblle({
        apiKey: process.env.TREBLLE_API_KEY,
        projectId: process.env.TREBLLE_PROJECT_ID,
    }));
}
Treblle provides:
- Real-time API monitoring and error tracking
- Performance analytics and response time metrics
- Usage patterns and endpoint popularity
- Security monitoring for unusual activity
- Auto-generated API documentation that stays current with your implementation
The API-First Approach
We followed an API-first approach throughout development, designing and agreeing upon the API's structure before writing code.
This provides several benefits:
Faster Feedback: Early sharing of API design with stakeholders allows for course corrections before implementation begins.
Parallel Development: Frontend and backend teams can work simultaneously using the OpenAPI specification as their contract.
Fewer Surprises: Clearly defined expectations prevent misunderstandings between team members.
Better Documentation: Teams create documentation during design rather than retroactively, ensuring accuracy and completeness.
Takeaways
Building your first API successfully requires:
- Design First: Plan your API structure before coding
- Security by Design: Implement authentication, rate limiting, and input validation from the start
- Comprehensive Testing: Test functionality, performance, and security
- Documentation: Maintain accurate, up-to-date API documentation
- Monitoring: Track performance, errors, and usage patterns
The API-first approach ensures your API is a reliable contract between systems while remaining maintainable and scalable.