
api-governance
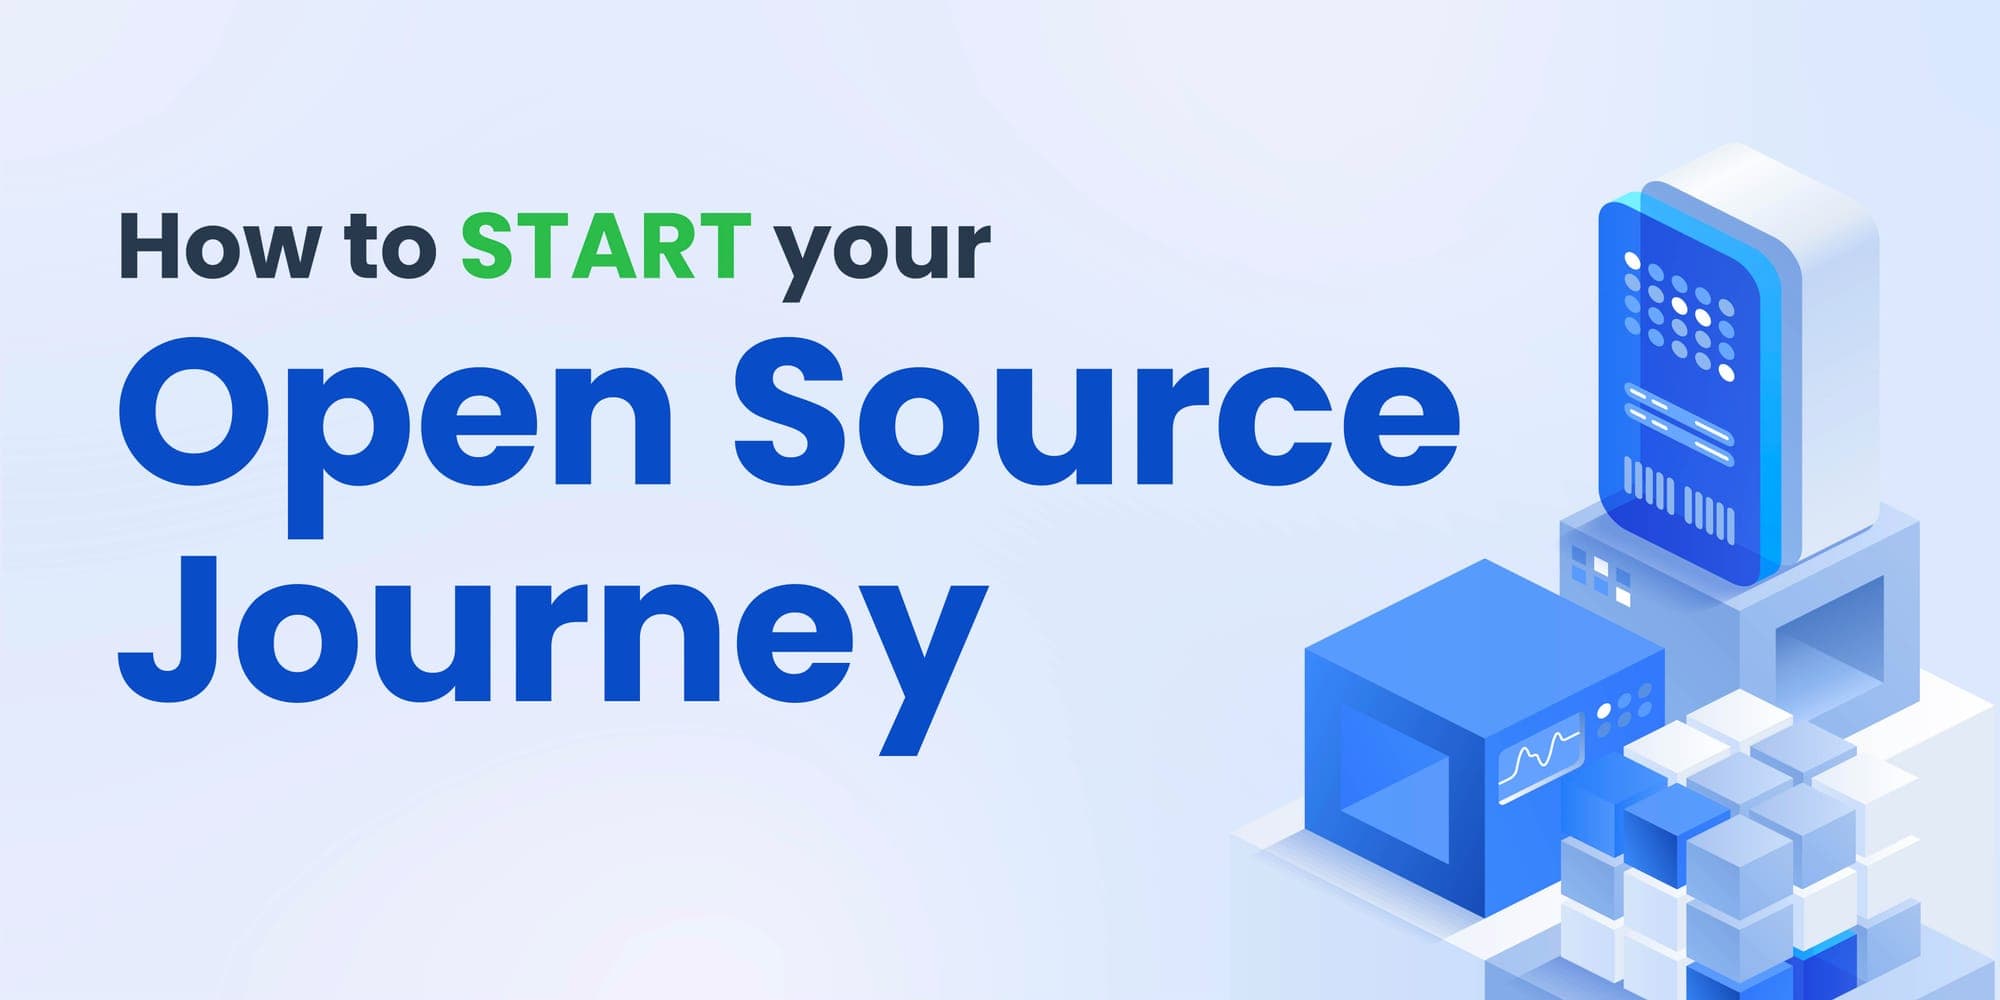
How to start your Open Source journey

Summarize with


If your goal is to just get into GSoC, LFX, MLHOr any other top-notch open-source program that's fantastic! However, let's not limit ourselves solely to the endgame. Open source has a wealth of benefits beyond just competition goals.
In this blog post, I'll break down the complexities for complete beginners.
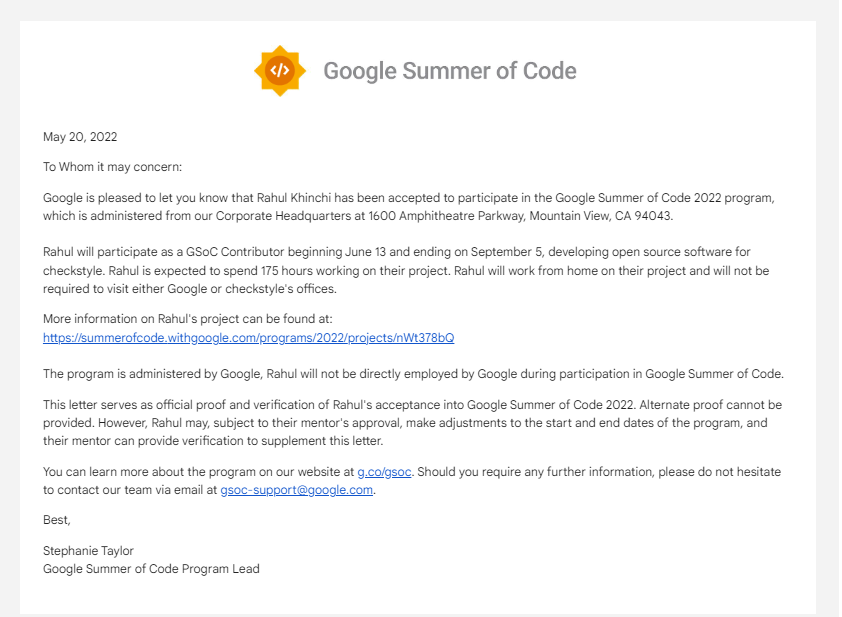
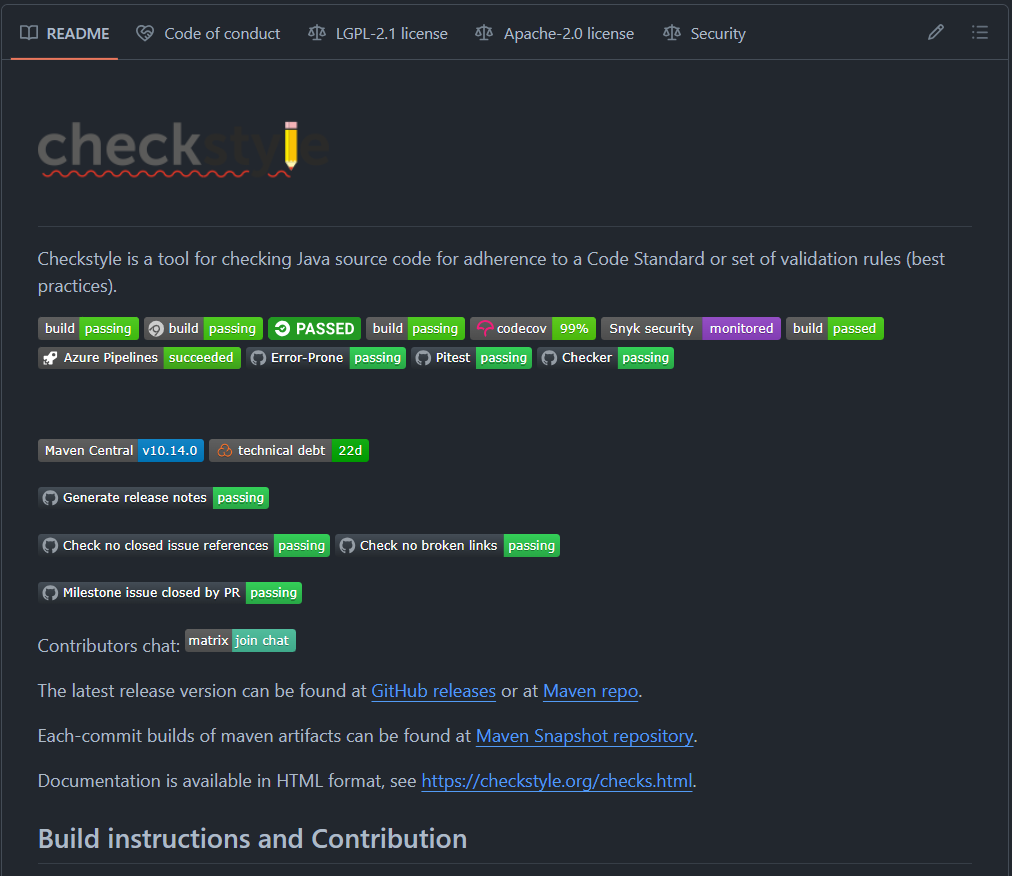
A little about me — I'm certainly no expert, but I was once in your shoes. Back in my freshman and sophomore years, I contributed to open source, and today, it's a game-changer in more ways than I can count. Currently, I work as a Developer Advocate Intern at Treblle. But my journey started with open source. I previously participated in GSoC as an Open Source Developer at Checkstyle, gaining invaluable experience and contributing to a real-world project.
So, consider me your friendly guide, ready to simplify things for fellow beginners like us!
Open source contributions offer a unique avenue for job seekers to showcase their skills and enhance their prospects. Rather than simply submitting a resume and waiting for a response, consider engaging with a company's open-source projects.
For students, open-source contributions provide numerous benefits:
Imagine joining a new team. To work well together, you'd first want to understand them goals and how they like things done, right? This is exactly what we're doing here!
Here's why getting to know the project matters:
Think of it like this:
team handbook, telling us the project's goals, structure, and how things work.submit suggestions or fix bugs.Join the community: Introduce yourself and connect with other contributors in the project's community (if there is one).
Example:
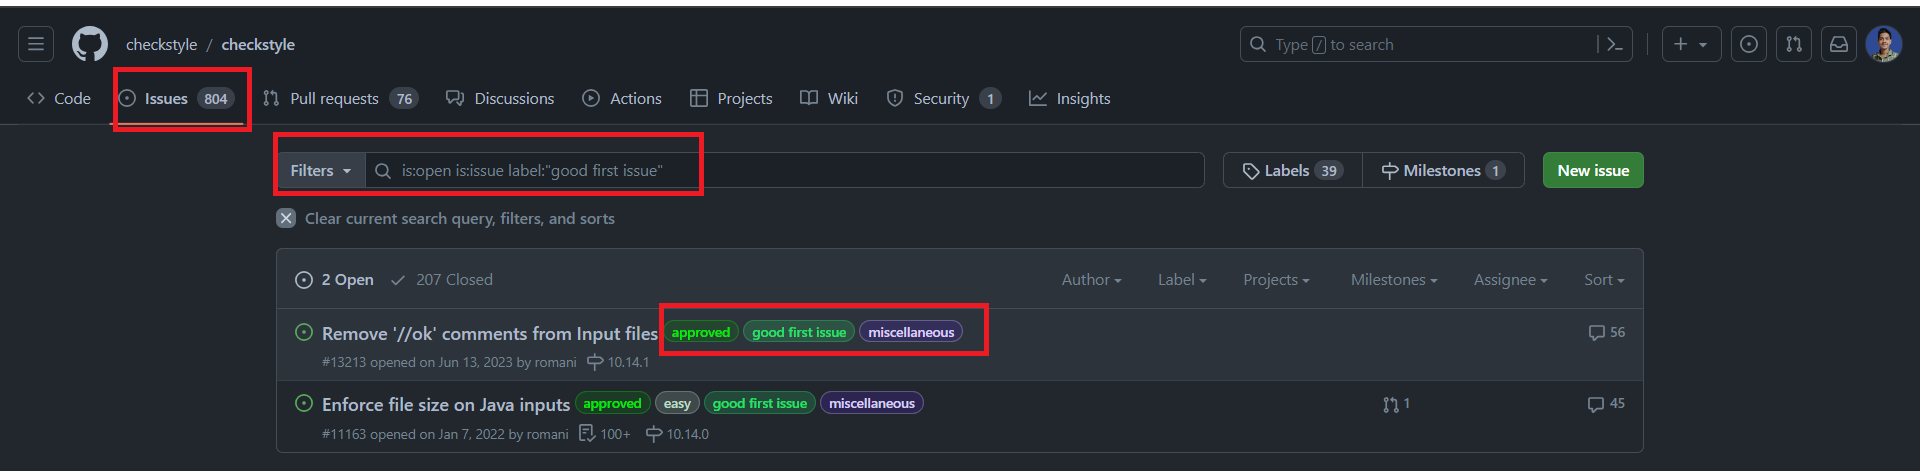
1. Filtering by Tags:
type of issue, making it easier to find what you're looking for.2. Finding Beginner-Friendly Issues:
good first issue or bug fix. These often indicate simpler issues, perfect for beginners like you.3. Using the Search Bar:
search bar is your friend!4. Labels on the Issues Tab:
Issues tab, look for the Labels section. Click on it to filter issues based on specific tags.Remember: Every successful journey begins with a single step!
Imagine you're at a library, browsing a massive book filled with knowledge (the project's code and documentation). You can often just read and highlight interesting parts (fixing minor typos in docs). But sometimes, you might want to take notes in your notebook, add your insights, or even rewrite a section (fixing code bugs). That's where forking and cloning come in!
opening your copy and trying out the things you read or wrote. You ca n see how your changes work before sharing them with everyone. $ git clone https://github.com/YOUR-USERNAME/YOUR-REPOSITORY
Cloning is like taking your personal copy home. You can now work on it offline and make changes freely.
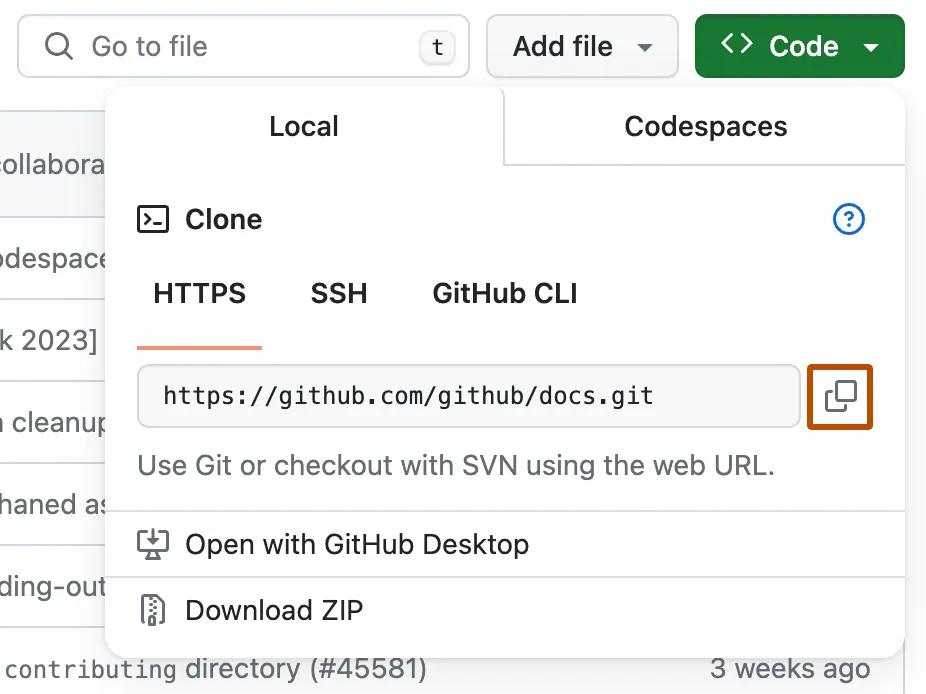
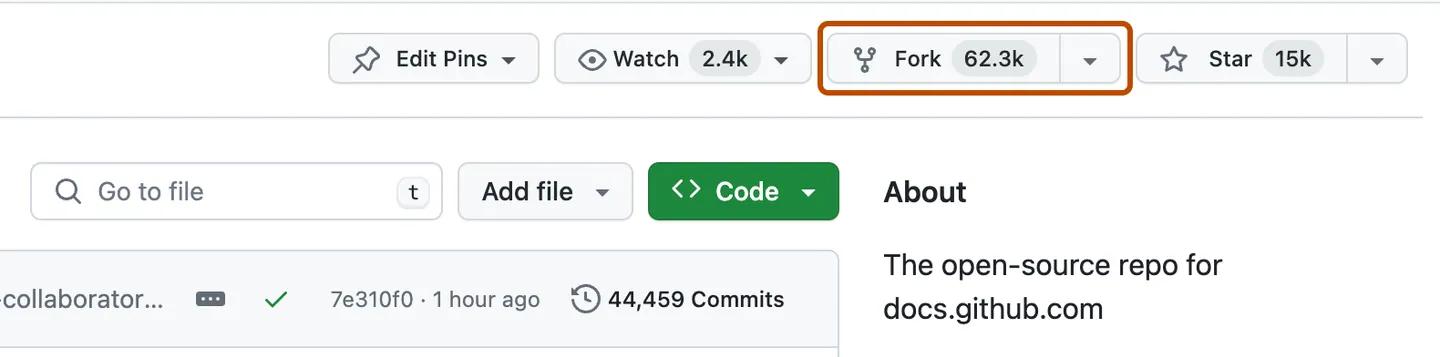
Forking is like making a personal copy of the book from the library. You can now make changes to your copy without affecting the original.
But do you always need to do this?
Not necessarily!
Think of it like borrowing a book from the library. If you just have a small suggestion for a missing comma or a clearer sentence, you can edit it directly on the library's copy (editing the project on Github itself). However, for bigger changes, like fixing bugs or adding new features, forking and cloning allow you to experiment and test your ideas before sharing them with the community.
Remember: Every project has its own contributing guidelines, like house rules for borrowed books. Be sure to read them carefully before making any changes!
Have you ever worked on a group project where everyone edits the same document, leading to confusion? Thankfully, software development has a smarter solution: Pull Requests (PRs).
Imagine PRs as proposals for improvements. You make changes to the code on your own "playground" (local environment), then submit a PR to the main project, proposing your modifications for review and integration.
Here's the technical story of creating a PR on GitHub:
locally, following the project's coding guidelines.explain your modifications and why they're beneficial to the project.review your code and provide feedback.On GitHub, navigate to your forked repository and initiate a PR:
Upload your local commits back to your forked repository on GitHub.
git push origin feature/your-changes
Save your edits with a clear and concise message describing your modifications.
git add .
git commit -m "Add/update feature: your-changes"
This creates a separate branch part of your project to isolate your changes from the main codebase.
git checkout -b feature/your-changes
Remember: Address any feedback and iterate on your PR until it's ready to be merged (integrated) into the main project.Don't be afraid to ask for help: The people who maintain open-source projects are usually kind and welcoming. If you're unsure about something, just ask!They're happy to help newcomers get started.
The open-source community is here to support you on your journey.
Open source isn’t just about code—it’s about community, learning, and growth. Whether you’re aiming for GSoC or just want to build something cool, every contribution counts. Start small, stay curious, and don’t be afraid to ask questions. You’ve got this!
Need real-time insight into how your APIs are used and performing?
Treblle helps you monitor, debug, and optimize every API request.
Explore Treblle
All Systems Operational
Gartner: Magic Quadrant, 2025
Gartner AI API Strategy, 2025
Everest Group: Enterprise App Integration Platforms, 2026


